Category Archives: RF

Back to an old hobby

I’m working more and more with wireless equipment at work these days, and I’ve found that it’s once again sparked my interest in an old hobby – Amatuer Radio.

I worked in commercial radio for eight years, mostly as an on-air entertainer hoping to follow in the footsteps of Johnny Carson and David Letterman. Radio was a perfect outlet for my sense of humor, and the Internet hadn’t yet developed into the “broadcast yourself” state that it is today.

KCMQ Remote Broadcast
Broadcasting Live for KCMQ radio.

In those days my interests were solely in writing and performing, and occasionally when someone asked what I did for a living they would respond, “Oh – I used to be in HAM radio”. The two are completely different beasts. (I left commercial radio in 2004 and doubt that I’ll ever return)
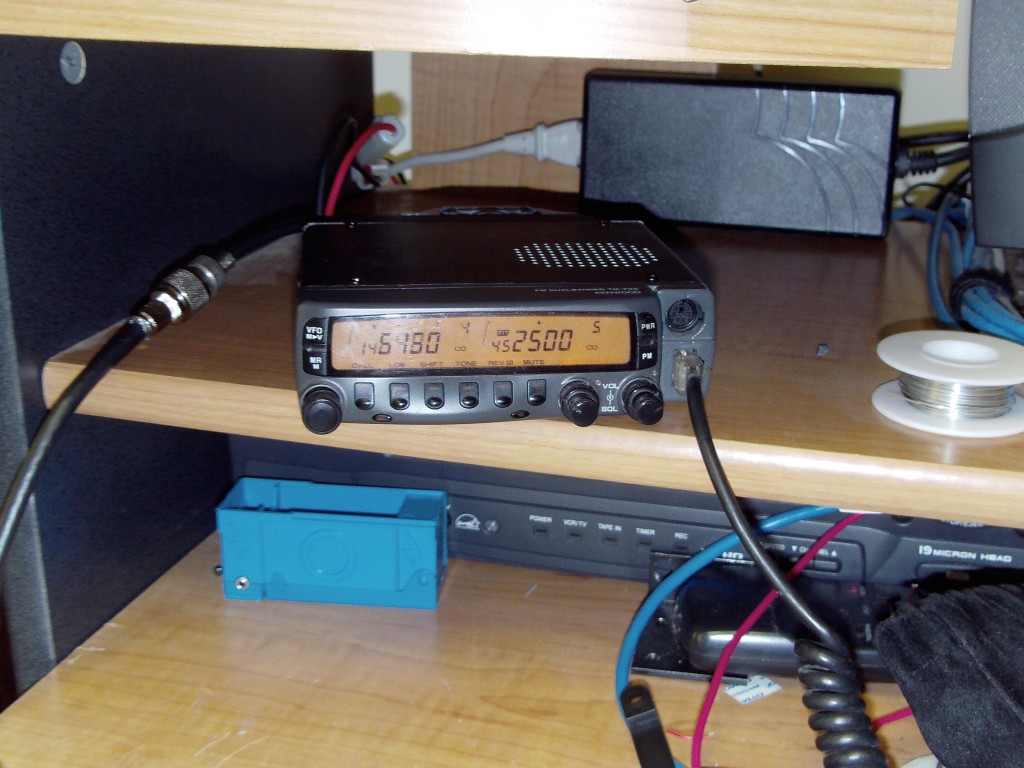
Kenwood TM733a
The Kenwood TM-733A dual-bander

About 3 years ago I purchased my first mobile radio, the Kenwood TM-733a. One of my main motivating factors was the 6-din connector that allows for easy connection to a TNC or computer, and knowing what APRS could do I wanted to explore other forms of packet radio. Like with most hobbies, starting out is a bit expensive. Instead of a proper power supply, I modified an ATX power supply from a computer and purchased a dicone style antenna from Radio Shack and mounted it on my roof.
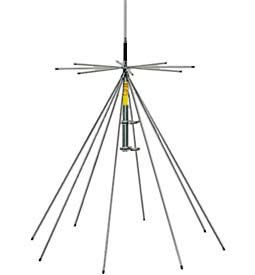
Radio Shack Dicone Antenna
The perfect antenna when you want to pick up broken elements in your yard.

The antenna elements screw into the main pole of the antenna, and unless glued into place they  come out over time. Overall I would NOT recommend it.

The power supply could never provide enough amperage to power the radio, and the faceplate would dim any time the microphone was keyed. Eventually I lost interest and the radio remained on my shelf unused. Then road construction began outside of work.

Road Construction
Why yes, that is a piece of sewage pipe holding that phone cable out of the way.

In my area of Pennsylvania you thankfully don’t have too many traffic jams. I’ve offset my work hours to miss the morning and evening rush hour traffic, so I’m lucky in most regards. Unfortunately the latest road construction causes me to sit in traffic for 10 minutes while I wait for my turn so that I can make it to the office parking lot.

That’s when I dug out my trusty old BC80-XLT scanner. My intentions were to find what frequency that the traffic flaggers were using, adopt their lingo and occasionally pipe in with a “Uh, yeah… westbound traffic is piling up, let’s let them go.” Instead it led me back to a hobby that I never got to fully enjoy.

Using WXtoIMG and a 2Meter radio, you can download your own satellite images from NOAA satellites (source N3FW)

I’d pulled the dicone antenna off my roof prior to installing my Ubiquiti equipment, and decided a year ago while looking over WXtoImg that if I were to ever build my own antenna it would be a J-pole. Eventually I came across a dual j-pole for sale on Ebay which fit my needs (it supports both bands of my Kenwood – 70cm and 2M).
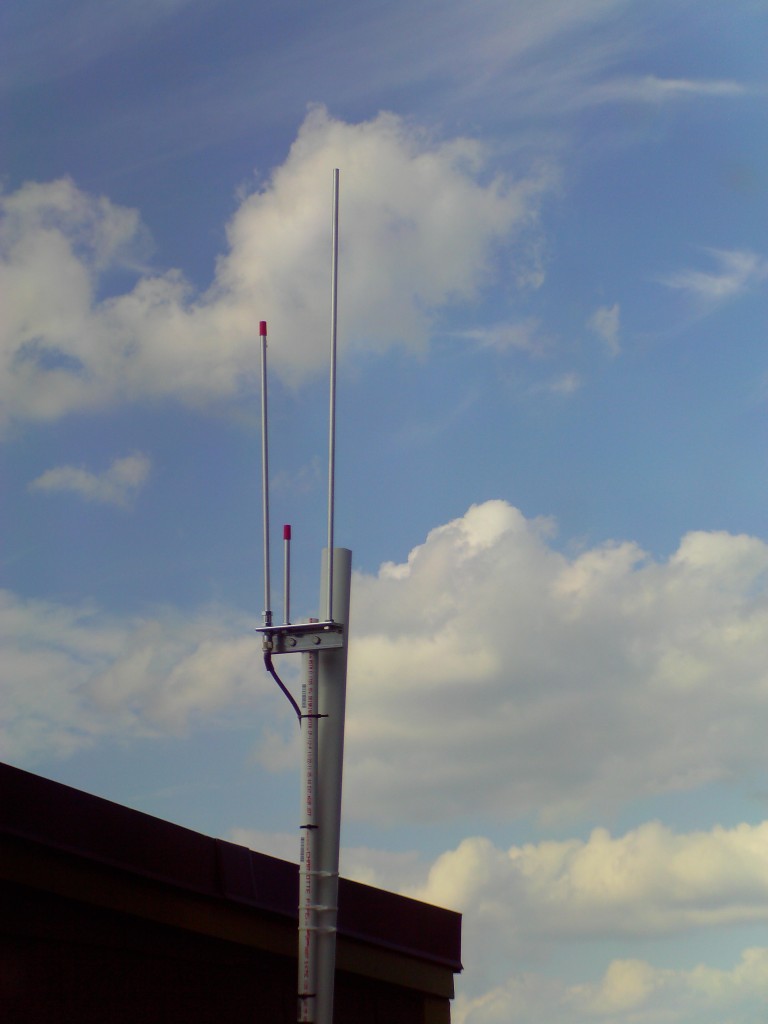
Dual Jpole
My dual-jpole. As you can see, it needs to be raised a bit higher.

The gang at Freenode #hamradio walked me through a number of options for powering the radio. In the end I settled on a 100 amp hour marine battery from the local Walmart along with a battery box. Going this route I can use my smart battery charger (that otherwise sees no use) and in the future explore solar power options for recharging the battery. I’ve since been informed that a sealed lead battery is much more preferable for indoor use as it doesn’t produce gas when being recharged (and will upgrade to one shortly).
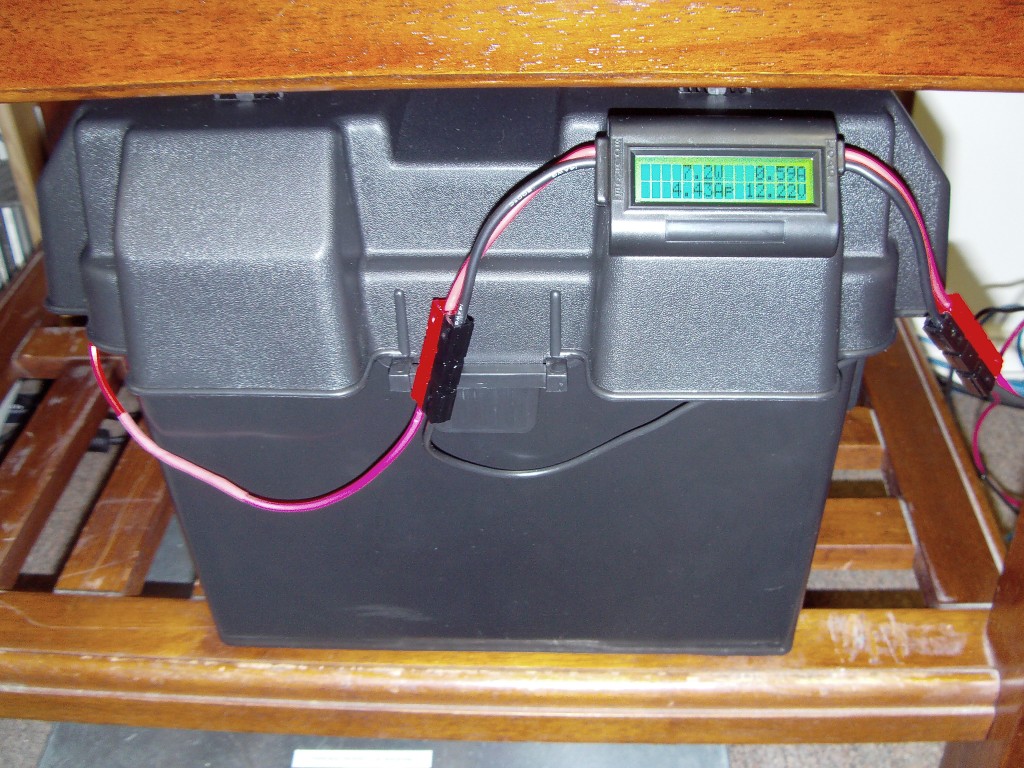
Battery Box
Present: Battery box, powerpoles, Doc Wattson. Missing: Lemon Pledge for dusting.

For monitoring battery consumption I picked up a Doc Wattson meter from PowerWerx. While at it, I also placed an order for Anderson PowerPole connectors – and I’m EXTREMELY impressed with how easy they’ve made connecting and disconnecting power from the radio. For added safety, there is an inline fuse before the battery powerpoles connected to the Doc Wattson.

I’ve made contact with a number of people in the area using various 2M and 70cm repeaters, so my setup is up and functioning. I have mylar capacitors en-route so that I can build an isolated sound-card interface (The Sound Card Buddy) and safely connect my radio to my pc. From there, the gameplan is to find someone in the area interested in communicating via PSK.
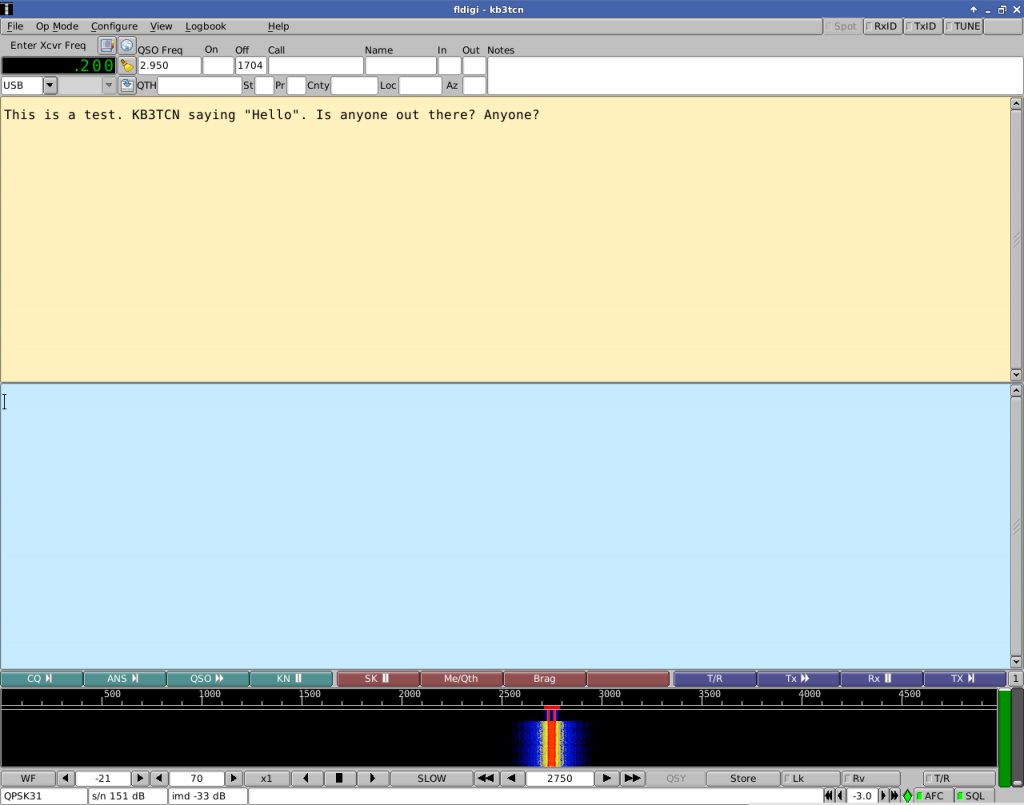
FLDigi
FLDigi – the digital modem software.

Why work with PSK? I’m looking for a better understanding of the modulation types used in 802.11n – the so-called “MCS” values.While these modulations are typically automatically agreed upon between access-point and station, are there instances in which a person could say “High fog today, <this modulation type> is actually better than what the AP and station are going to agree upon automatically”?
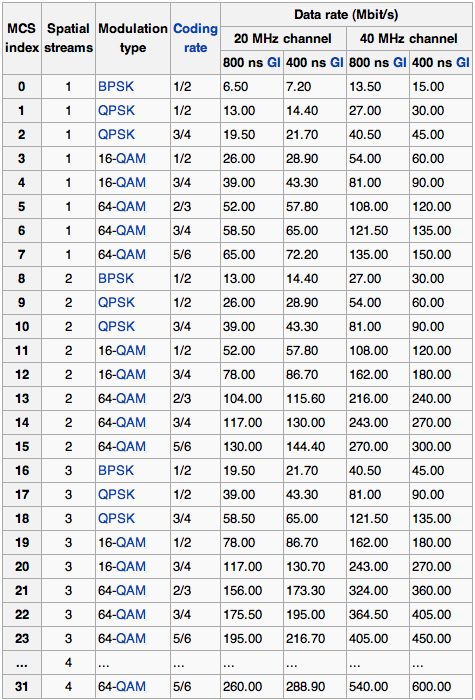
802.11MCS.Wikipedia
Each MCS index refers to a specific modulation type, some of which can be generated in FLDigi.

I’d wager that the AP will always negotiate the best scheme, but knowing the properties of each still won’t hurt.

So I’m back to an old hobby, and my timing is good – at the end of this month is a Hamfest in my town. In the future, I anticipate that I’ll be working extensively with fldigi, exploring solar power, and installing a conduit system into my home office. As always, I’ll document my work here at BrainDeadProjects.

RadioShack Electronics Learning Lab

Recently I was intrigued by a Hack A Day post regarding a low-cost development platform for their MSP430 line of microcontrollers. I’ve long wanted to toy with an Arduino, but with many other projects currently under my belt, I’ve jut not had the time. When I heard the Launchpad was only $4.30, I figured I might as well pick some up for future use.

To make the shipping worthwhile, I ordered 3 of the boards from DigiKey. Unfortunately they were on back-order, but less than a month later – I got my purchase in the mail:

A couple Texas Instruments MSP430/Launchpads.The 3rd I gave to my brother

Each box contains the Launchpad Development board, USB cable, pin headers, a crystal, and two MSP430 chips. The online wiki contains links to a couple IDEs for use in the Windows world – and Hack A Day has a good writeup on using the msp430-gcc compiler in the Linux world.

Acting like an impatient kid, I put schoolwork and other projects on hold for a couple days to dig into the Launchpad. First mission – the basic “RC Car modification”.

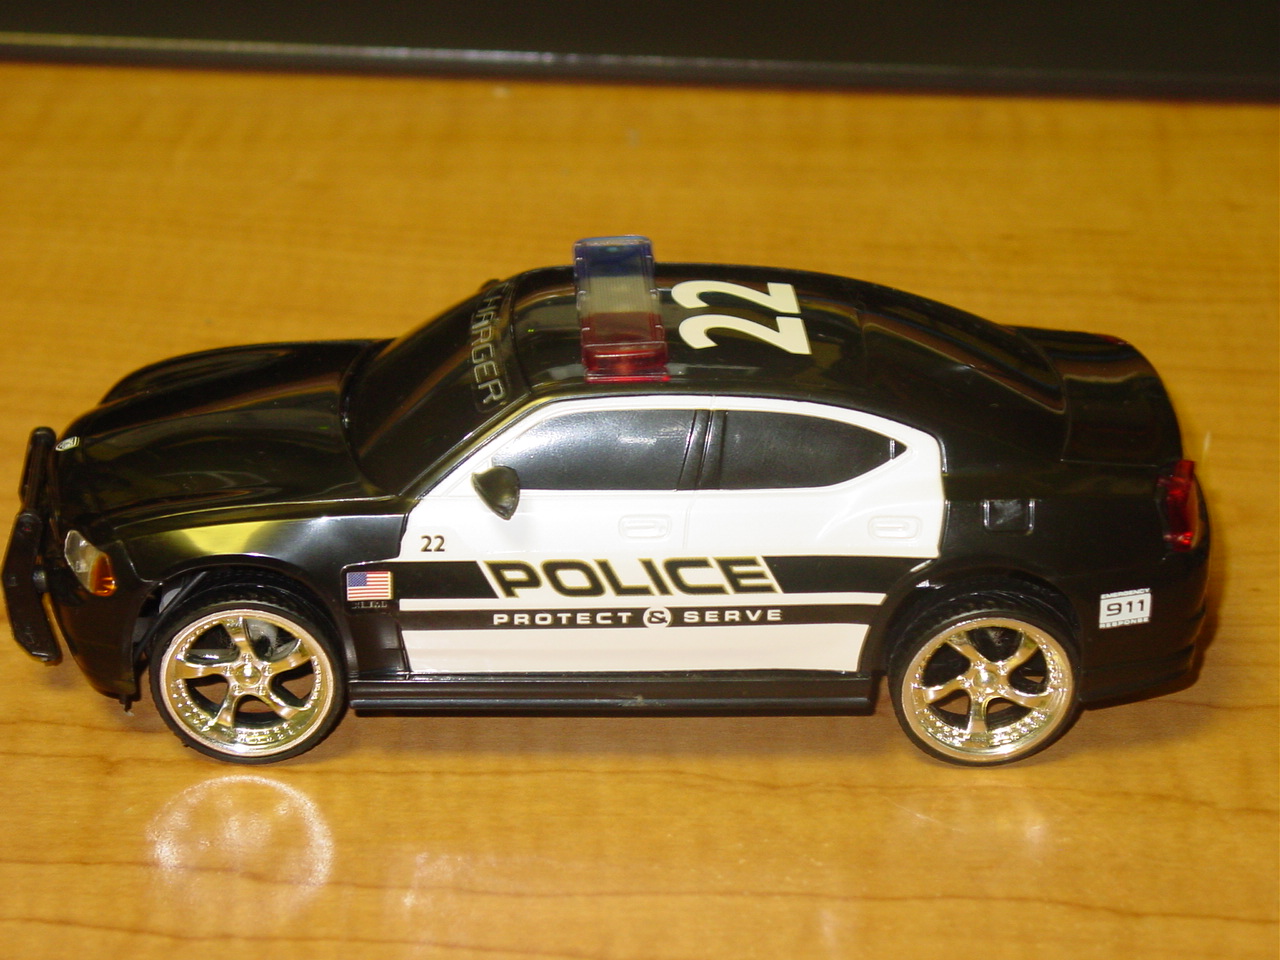
Only modify full sized Police Cars.
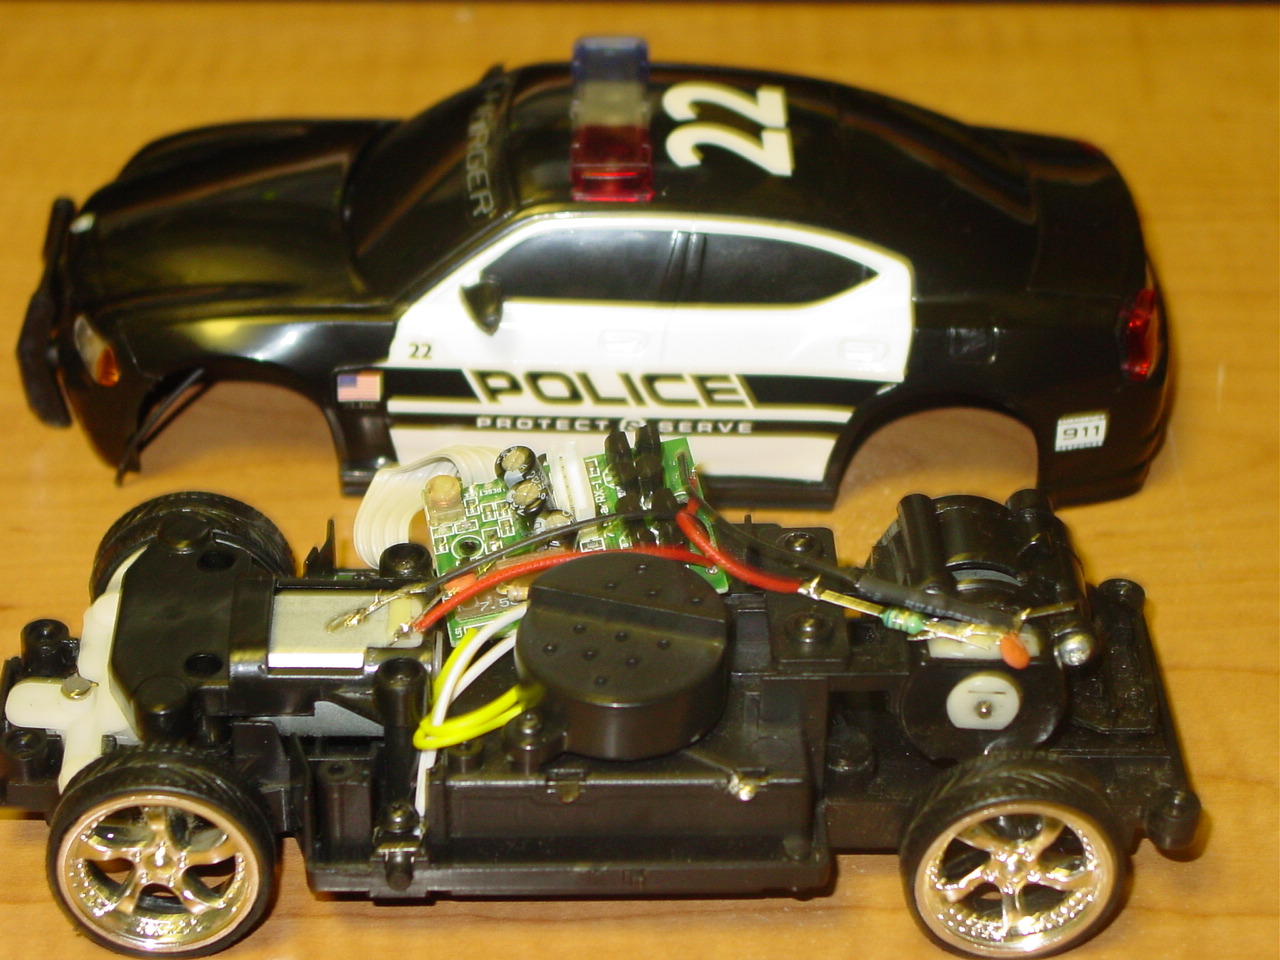
To disassemble a real police car, first remove a couple tires.

After mapping out the pins on the H-Bridge of the RC Car, I decided to do something I’ve always wanted to do – buy a Radio Shack Electronics Learning Lab and brush up on what little I know.

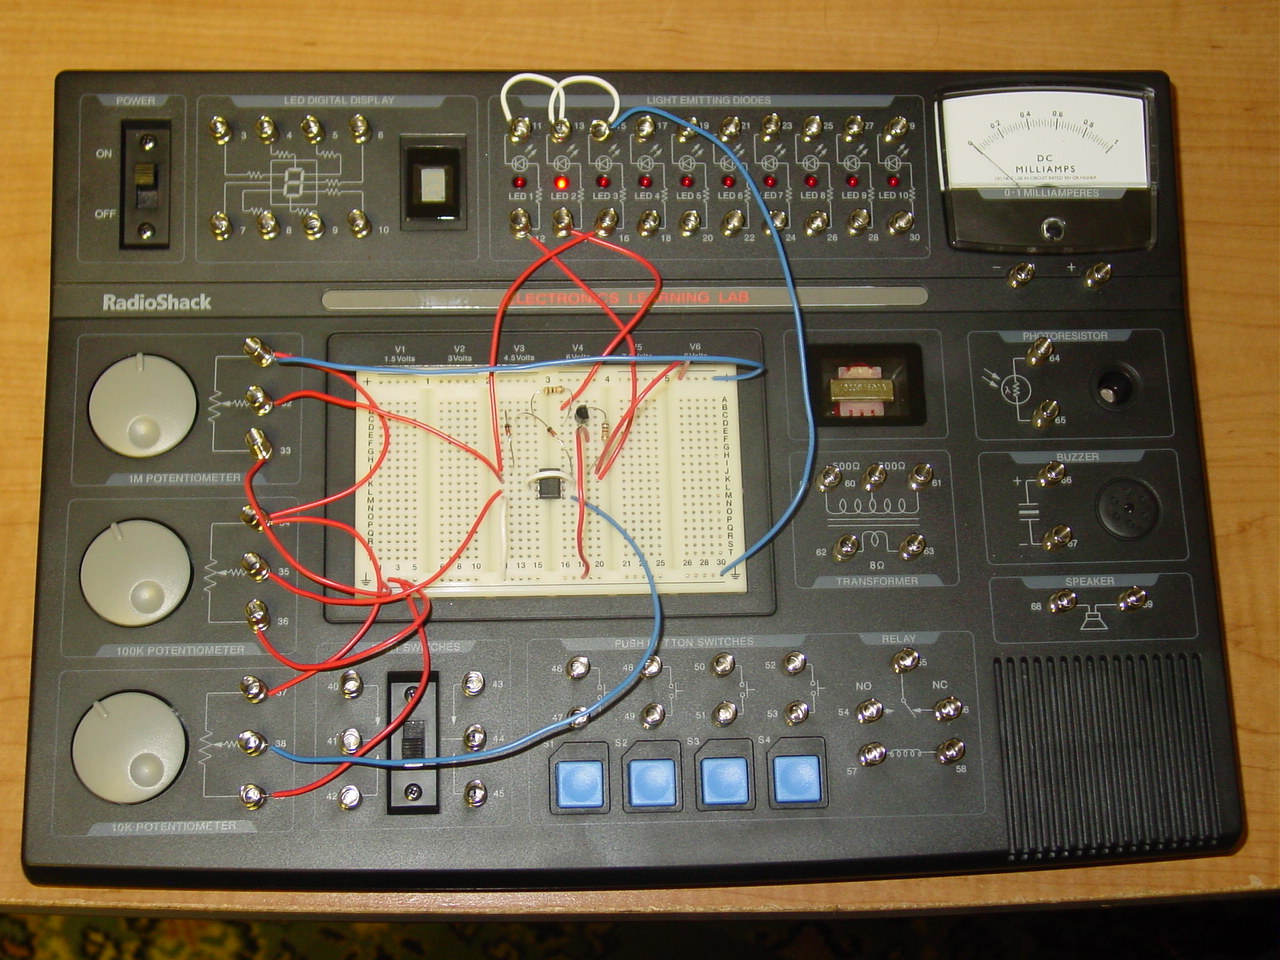
The RadioShack Electronics Learning Lab. This circuit is a pacemaker for the human heart (from page 32)

This is something I should have had by the time I was in high-school – if not by 5th grade. The Electronics Learning lab contains 2 lab manuals (one covering Basic Electronics, the other Digital Logic), about 20 ICs, a handful of transistors, numerous resistors and capacitors, and jumper wires (among a few other things). The console itself has numerous built in potentiometers, LEDs, a relay, a transformer, a buzzer, speaker, DPDT switch, and many other components ready to use. Each of the built-in components uses springs to make contact. There’s also a built in breadboard.

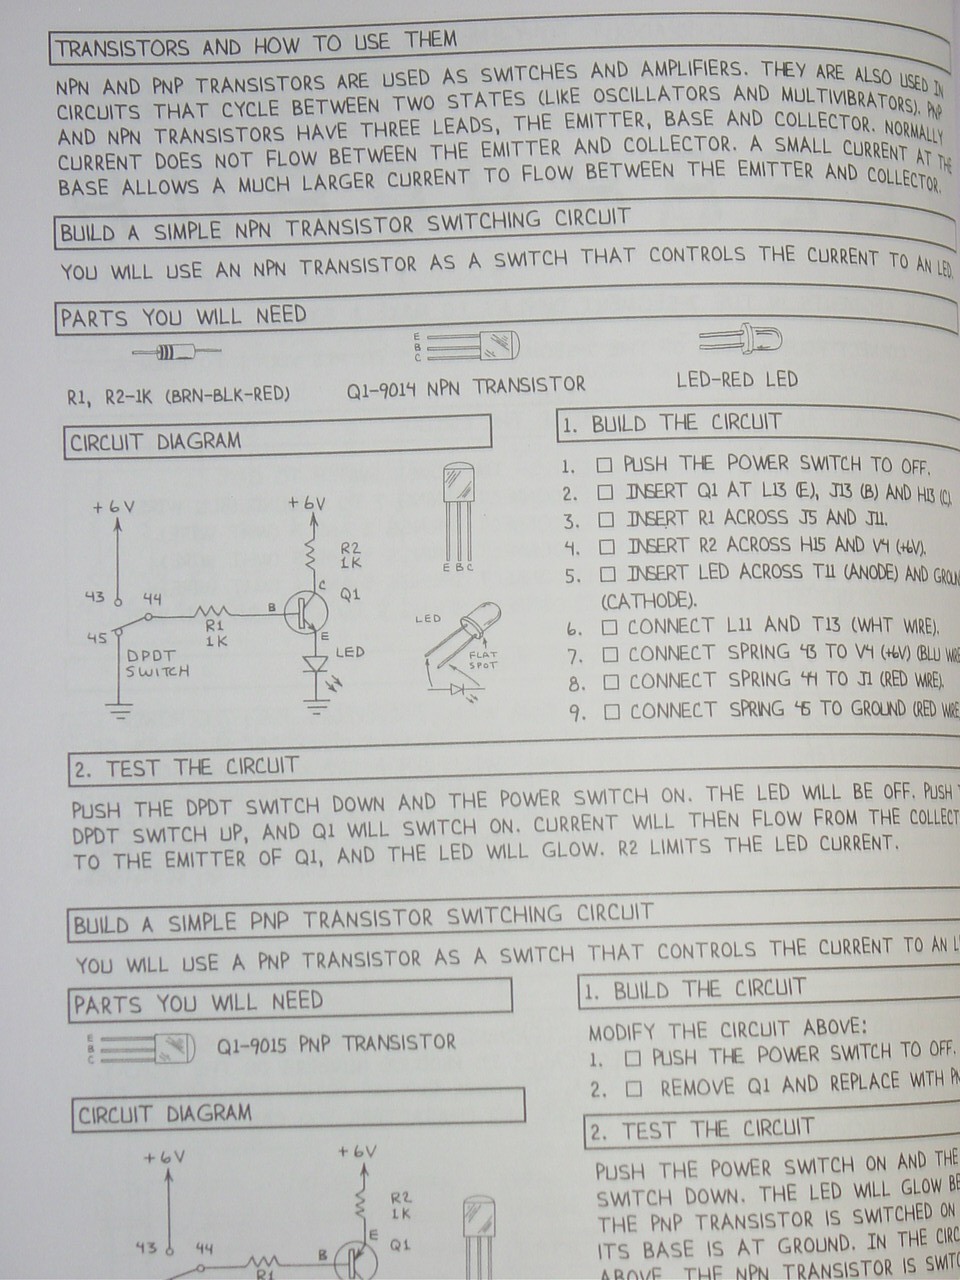
The two included lab manuals.

Each lab manual contains background information on each of the various components, as well as example circuits that you can build. Each circuit contains a standard schematic, step-by-step instructions, as well as a checklist to help the user build an error-free circuit. The explanations on how many of the circuits work are lacking – requiring the user to do additional searching and reading to get a full understanding of what’s going on. (But seriously, that’s how it should be: You buy the lab to learn, doing additional reading should be encouraged)

If you look closely, you'll see an acrostic poem.

Which circuits you build and in what order you build them is entirely up to the user. Each manual is structured so that learning is incremental: You learn how resistors work, you learn how capacitors work, you learn many different ways in which resistors and capacitors can work together.

My goal is to work through each book page by page (I’m only just over halfway through manual 1). Each manual is about 96 pages long so this can easily be done in a long weekend (or a few in my case).

I really wish my high-school had offered an electronics class. My limited knowledge had been enough to get me by for basic projects, but the labs I’ve done so far have really bolstered what I know. And at $70, this is a real deal.

Next up: After completing all the labs, go back to the RC Car modifications and explore the possibilities of a TI Launchpad.

New Wireless Toy

I’ve really been enjoying the feedback on the free wireless access from my neighbors. As always, everytime I start a new hobby, I end up with a handful of new toys – and I got one just today:

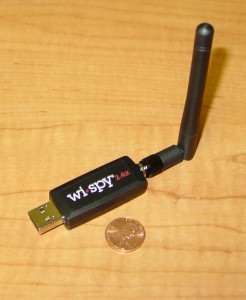
The Wi-Spy 2.4x

The Wi-Spy 2.4x is a portable USB spectrum analyzer for the 2.4Ghz range (They have other models that cover 900mhz and 2.4/5Ghz). The 2.4x model includes an external antenna (SMA), whereas the 2.4i has an internal antenna only.

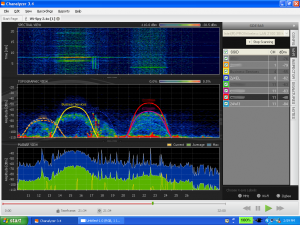
The Accompanying Chanalyzer software

With the use of a wireless card, one can overlay SSID’s atop the channels in the Topographical  graph and determine what radiation  belongs to which Access Point. The bottom graph (Planar view) allows one to view which Zigbee channel, wifi channel, or frequency range is most in use.

There’s a similar device on the market which is substantially cheaper, the Airview,  manufactured by Ubiquiti Networks (~$39 vs. ~$160), but from what I’ve seen, the Chanalyzer sofware in use with the Wi-Spy appears to have more features (the ability to record your captures, the ability to overlay RF “fingerprints” of various devices atop your captures), etc. The Airview software is written in Java (Read:  supported in Linux), whereas Chanalyzer is written in .NET (good luck with that one under WINE).

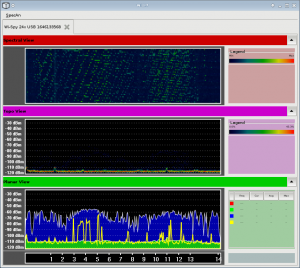
There are Linux tools for use with the Wi-Spy (Spectrum-Tools) which I can defnitely appreciate,  but again the recording/playback and fingerprinting along with SSID overlays really make Chanalyzer nice. (For the record, you can actually record the data using one of the tools in the Spectrum Tools suite… I don’t believe you can playback easily though)

Spectrum Tools: from the author of Kismet

I’m supposed to be working on a number of other things at the moment (studying for an exam being the major item on my to-do list) so unfortunately this post is more of a “guess what I just got” as opposed to a “look at what this can do”.  In the next few weeks, I plan on picking up an AirView also, and will provide a side-by-side comparison of the two.

In the meantime, check out this video advertising the Wi-Spy, and if you have any experience, recommendations or thoughts on it or the AirView – hit me up in the comments.

A New Look for Wireless

I’ve done quite a bit in the past few months with the neighborhood wireless project.

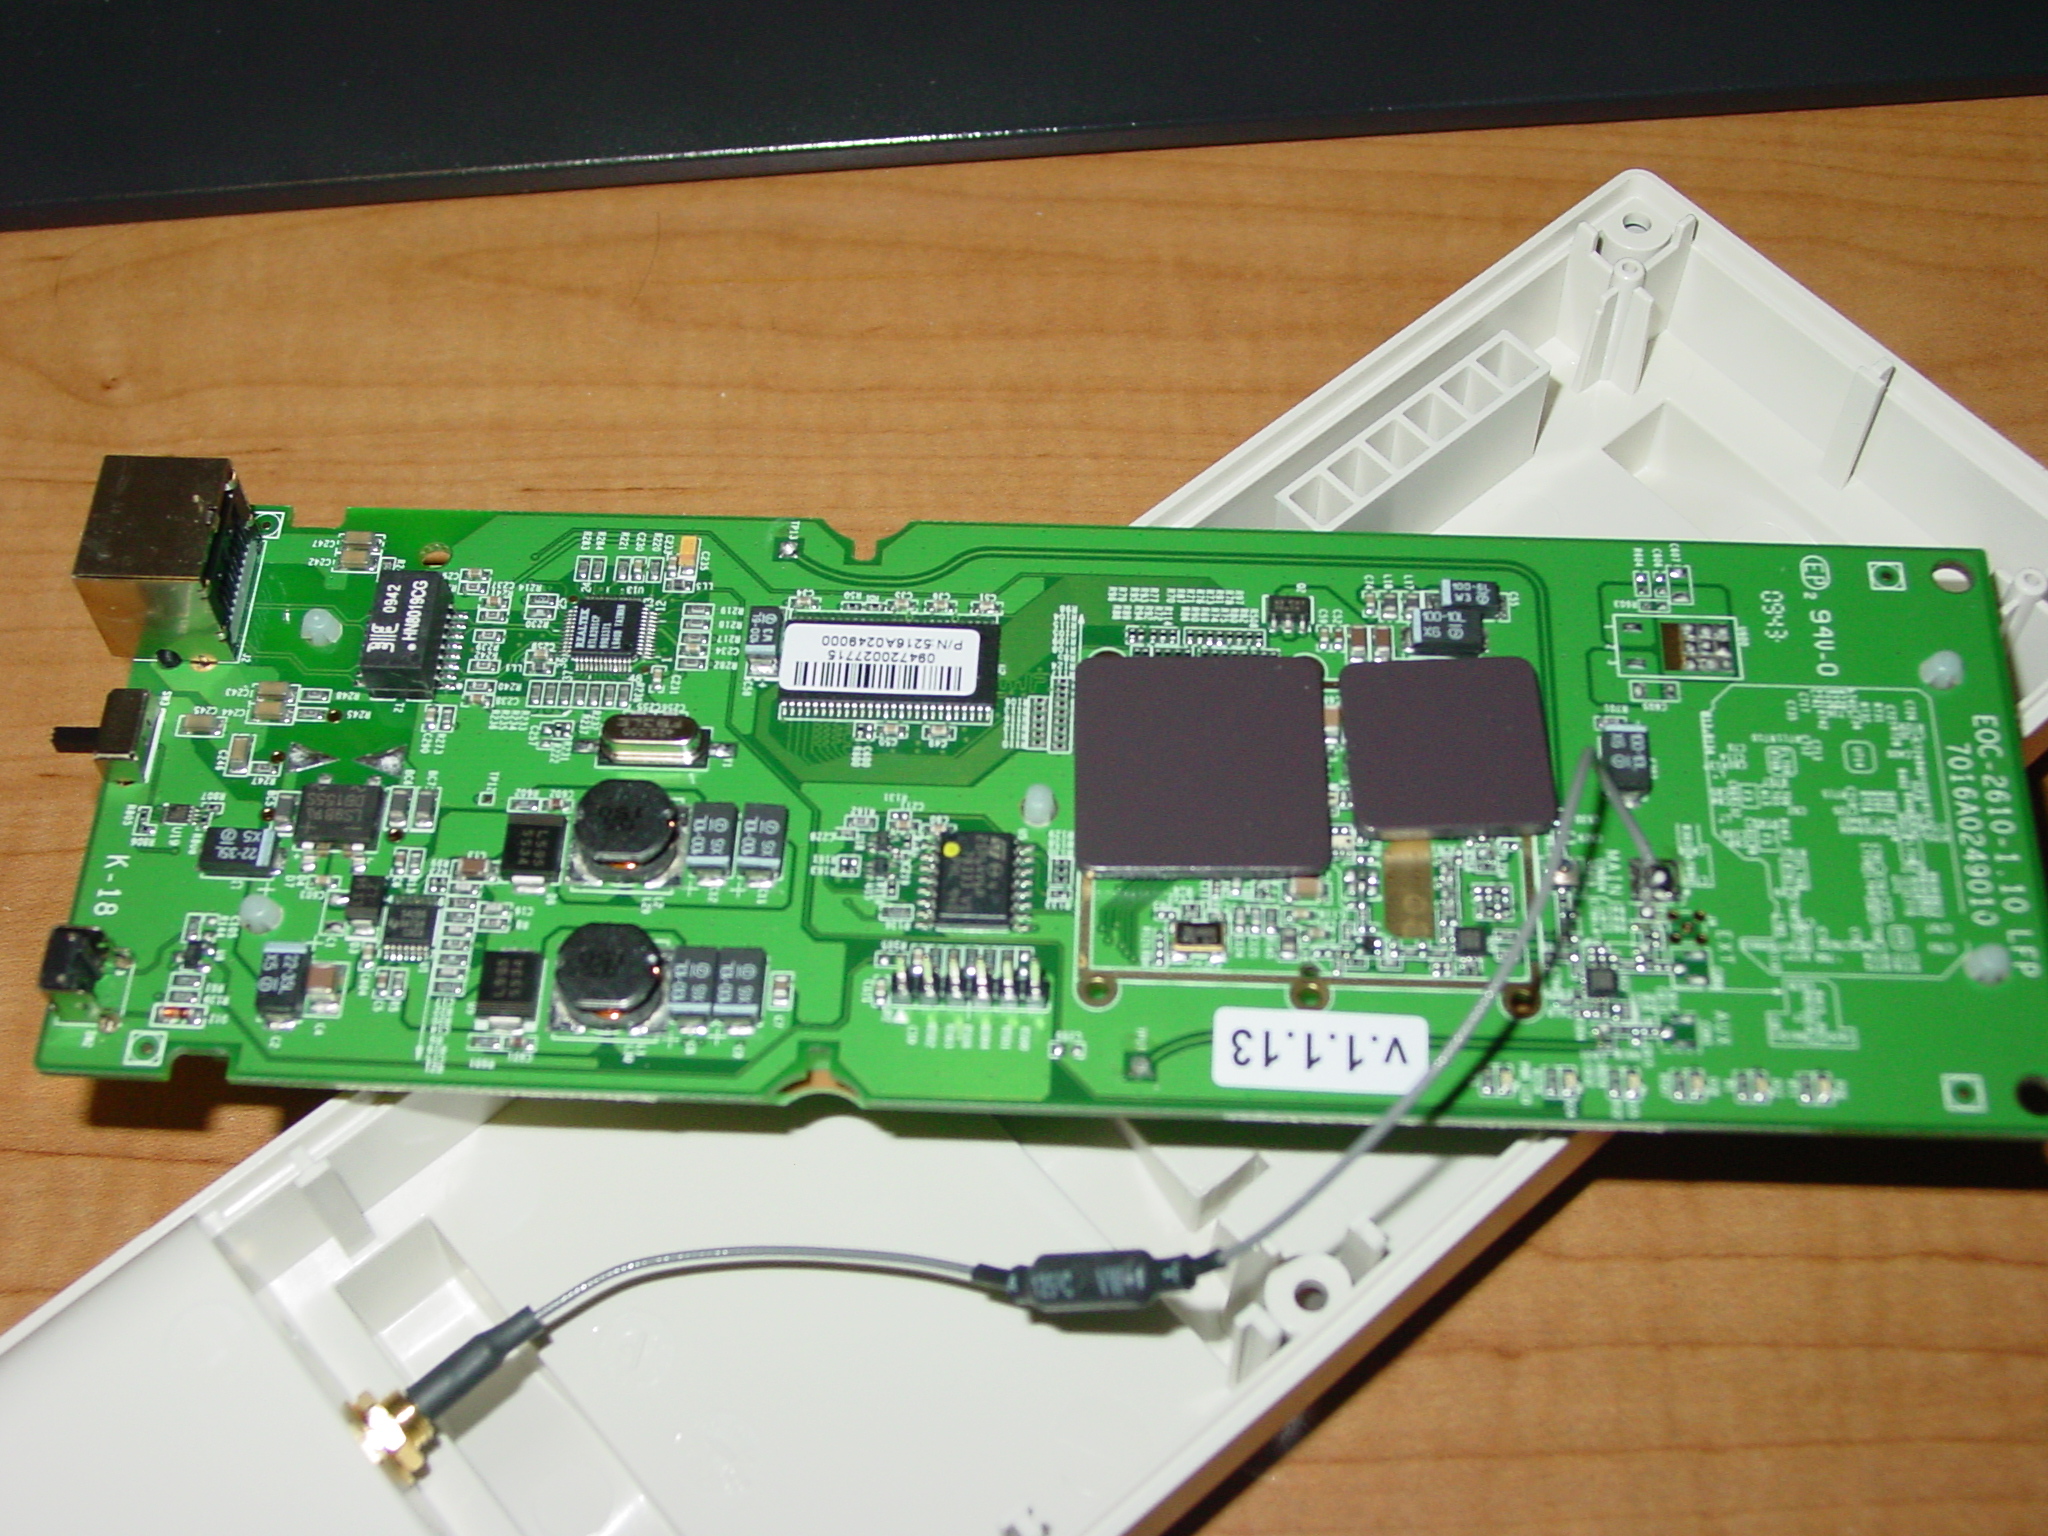
First off, I’ve moved everything from the Linksys WRT-54GTM devices to an Engenius EOC-2610. The system Atheros AR2315 based. (More pictures here)

An Engenious Naked. Totally hot.

The firmware is still OpenWRT kamikazee (I dumped DD-WRT a while ago on the 54G’s), with a patched version of the NoDogSplash captive portal  (to prevent the graceful exit when a null token is submitted, also to support a “Magic token”, since I don’t truly care about it being the same one issued during the pre-authentication phase).

The only lingering issue relates to my version of the hardware not handling a reboot, which is a known issue apparently related to the kernel’s watchdog driver. There’s already a patch out there, and I plan on implementing it soon. (At present, an “init 6” will simply cause the unit to stop responding – requiring an actual powercycling) The good news is that I’ve never had to actually reboot the device for any reason.

Other installed packages include NProbe for Netflow export and  SNMP for monitoring/graphing purposes. In all honesty, the build is rather simple but effective. It’s also waterproof – the Engenius EOC-2610 is built for outdoor use – complete with waterproof housing and PoE support (albeit based on the warnings on the PoE injector, I don’t believe it’s 802.3a[ft] compatible)

As of this morning, we’re up to 13 users in the neighborhood. Shortly, I’ll be lighting up the Eastern portion of the neighborhood, which will provide access to a larger number of users.

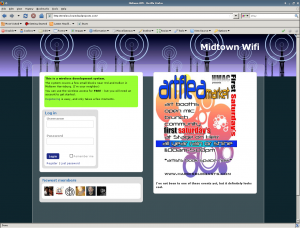
Oh, and there’s a new look to the portal:

The new Midtown WiFi Theme

The new look is a slight modification to the Lorea Hub Theme, with additional imagery from istockphoto.com.